After a successful WordPress installation, you'll see a default "Hello world!" homepage. To build a professional, efficient website with a solid foundation, several key initial setup and optimization steps are essential before you start publishing content.
5 Essential Setup and Optimization Steps Before Using WordPress
These steps aim to optimize your site's performance, enhance security, improve SEO, and prepare for content creation. Here is a detailed guide:
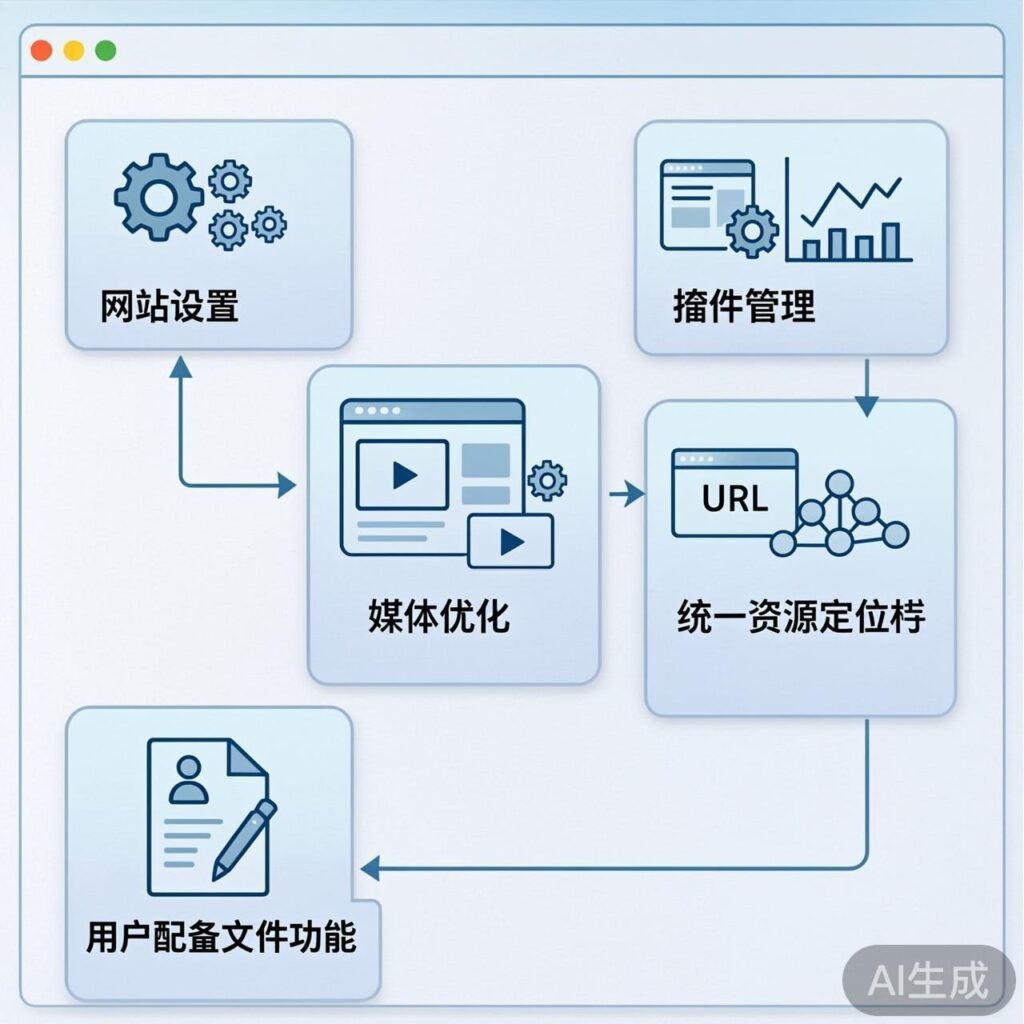
1. Configure Core Site Information
This is your site's identity and is crucial. Go to Settings > General and carefully configure:
- Site Title: Your website's name.
- Tagline (Site Description): A brief summary of your site.
- WordPress Address (URL) & Site Address (URL): Usually keep the defaults unless you performed a special installation.
- Administration Email Address: For system notifications and password resets.
- Membership, New User Default Role, Site Language, Timezone, Date/Time Format: Set according to your needs.
Importance: This information appears in site titles, RSS feeds, and search engine results, directly impacting professionalism and SEO.
2. Clean Up Default Plugins and Themes
WordPress includes sample content by default. Cleaning up keeps your admin area tidy.
Delete Unnecessary Default Plugins
Go to Plugins > Installed Plugins. A fresh install often includes the "Hello Dolly" plugin, a non-functional sample. You can deactivate and delete it. Keeping plugins minimal improves admin speed and security.
Remove Unused Default Themes
Go to Appearance > Themes. WordPress pre-installs several official themes (e.g., Twenty Twenty-Four). Recommendations:
- Keep the theme you are currently using (or one clean official theme as a backup).
- Delete all other unused default themes.
Note: Before deleting your active theme, always activate another theme first. Keep at least one usable theme at all times.
3. Optimize Media Settings (Thumbnail Sizes)
WordPress automatically generates multiple thumbnail sizes when uploading images, which can consume significant storage over time.
Go to Settings > Media. Here you can:
- Review and adjust the default pixel values for "Large", "Medium", and "Thumbnail" sizes.
- Suggestion: Set sizes based on your chosen theme's image display requirements. If your theme specifies sizes, follow its instructions. A common optimization is to set the width and height to
0for any size you don't need, preventing WordPress from generating it.
Importance: Proper settings reduce wasted server storage and improve site loading speed.
4. Set Up Permalinks (Permanent Links)
This is one of the most important SEO settings, determining the URL structure of your posts and pages.
Go to Settings > Permalinks. Avoid the default "Plain" setting (URLs with ?p=123). Recommended choices:
- Post name (e.g.,
/your-post-title/) - Custom Structure (e.g.,
/%postname%/or/%category%/%postname%/)
Importance:
- SEO-friendly: URLs with keywords are easier for search engines to understand and rank.
- More aesthetic, readable, and shareable URLs.
- Changing permalinks after publishing content will break old links (causing 404 errors), so set this correctly from the start.
Note: If you get 404 errors after setting this, you may need to configure server rewrite rules (e.g., Nginx rewrite rules or Apache's .htaccess). This is often done via a one-click option in your hosting control panel or by contacting your host.
5. Complete Your Administrator Profile
Go to Users > Your Profile.
- Nickname: Set a publicly displayed name.
- Display name publicly as: Select the nickname above. This will be the author name shown on your posts.
- Contact Info: Verify your email address.
- Biographical Info: Write a short author bio.
- Account Management: You can generate application passwords or change your account password here.
This helps establish author authority and professionalism for your site.
Summary
Completing these five steps gives your WordPress site a clear, optimized, and SEO-friendly foundation. These initial settings, while simple, effectively prevent many common future issues (like messy URL structures or bloated storage), allowing you to focus on content creation and site growth. Now you're ready to install essential plugins, choose your preferred theme, and publish your first post!