Debian iptables Firewall Configuration and Persistence Guide
iptables is a powerful firewall tool for Linux systems. This guide details the complete process of installing, configuring, and making iptables rules persistent on Debian.
Step 1: Check and Install iptables
First, verify if iptables is installed on your system. Open a terminal and run:
whereis iptablesIf installed, you will see output with paths to the binary and man pages. If not, install it with:
sudo apt update
sudo apt install iptablesNote: All commands in this guide assume execution from a user account with sudo privileges. Using the root user directly is not recommended for security.
Step 2: View Current iptables Rules
After installation, view the current firewall rules with:
sudo iptables -L -n -vThe -n flag prevents DNS resolution (shows IPs), and -v shows verbose details for a clearer view. A fresh install typically shows default rules accepting all traffic, equivalent to no active firewall.
Step 3: Configure iptables Rules
It is recommended to write rules to a configuration file first, test them, and then apply. This prevents locking yourself out of the server (especially via SSH) due to rule errors.
1. Create a test rules file:
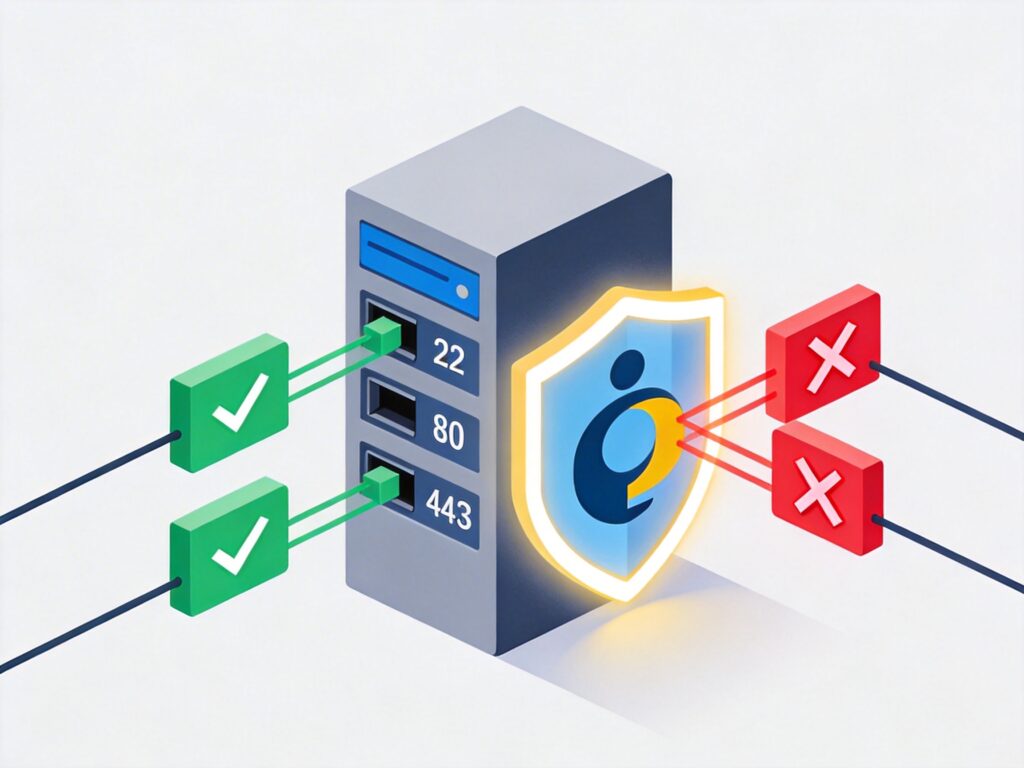
sudo vim /etc/iptables.test.rules2. Copy the following basic rule set into the file. This set, based on Debian's official example, provides access control for common services (HTTP, HTTPS, SSH) and sets a default deny policy for higher security.
*filter

# Allow all loopback traffic, reject non-loopback traffic to 127.0.0.0/8
-A INPUT -i lo -j ACCEPT
-A INPUT ! -i lo -d 127.0.0.0/8 -j REJECT

# Accept all established and related connections
-A INPUT -m state --state ESTABLISHED,RELATED -j ACCEPT

# Allow all outbound traffic (can be restricted as needed)
-A OUTPUT -j ACCEPT

# Allow HTTP (80) and HTTPS (443) inbound connections
-A INPUT -p tcp --dport 80 -j ACCEPT
-A INPUT -p tcp --dport 443 -j ACCEPT

# Allow SSH (22) new connections
# Note: Strongly recommended to change --dport 22 to a custom SSH port and consider restricting source IPs
-A INPUT -p tcp -m state --state NEW --dport 22 -j ACCEPT

# Allow Ping (ICMP Echo Request)
-A INPUT -p icmp -m icmp --icmp-type 8 -j ACCEPT

# Log denied connections (viewable via `dmesg` or `journalctl`)
-A INPUT -m limit --limit 5/min -j LOG --log-prefix "iptables denied: " --log-level 7

# Set default policy: reject all other inbound and forwarded traffic
-A INPUT -j REJECT
-A FORWARD -j REJECT

COMMIT
Important Security Note: The above rule opens SSH port 22 to all IPs. In production, you should:
- Change the port number in the SSH config file (
/etc/ssh/sshd_config). - Modify the
--dport 22in the iptables rule to your custom port. - More securely, use the
-sparameter to restrict source IP addresses allowed to access SSH.
3. Load and verify the test rules:
# Load rules from file
sudo iptables-restore < /etc/iptables.test.rules
# View rules again to confirm they are active
sudo iptables -L -n -v
After loading new rules, do not disconnect your current SSH session. Open a new terminal window to test the connection and ensure you are not locked out due to misconfiguration.
Step 4: Save Rules and Set Automatic Loading on Boot
After successful testing, save the active rules and configure the system to load them automatically on startup.
1. Save the current in-memory rules to a file:
sudo iptables-save > /etc/iptables.up.rules2. Configure automatic rule loading before network interfaces come up. Create a script:
sudo vim /etc/network/if-pre-up.d/iptables3. Add the following content to the file:
#!/bin/sh
/sbin/iptables-restore < /etc/iptables.up.rules
4. Make the script executable:
sudo chmod +x /etc/network/if-pre-up.d/iptablesNow, when the system reboots or network interfaces start, the firewall rules will be automatically restored from /etc/iptables.up.rules.
Step 5: Advanced Configuration and Maintenance
- Allow Specific IP Ranges: To allow an IP range (e.g., 192.168.1.1-192.168.1.199) access to all services, add a rule in the INPUT chain (typically after the SSH rule and before the default reject rule) in your rules file:
-A INPUT -m iprange --src-range 192.168.1.1-192.168.1.199 -j ACCEPTThen reload the rules.
- Rule Modification Workflow: Always modify and test rules in the
/etc/iptables.test.rulesfile. After confirmation, load them withiptables-restore, then save the active rules toiptables.up.ruleswithiptables-save. - View Logs: Denied connection logs (if the LOG rule is enabled) can be viewed with
sudo dmesg | grep "iptables denied"orsudo journalctl -k | grep "iptables denied".
By following these steps, you can successfully configure and persist a basic iptables firewall on Debian. Carefully adjust and refine the rules according to your specific network service requirements.