NFS Server Installation and Configuration
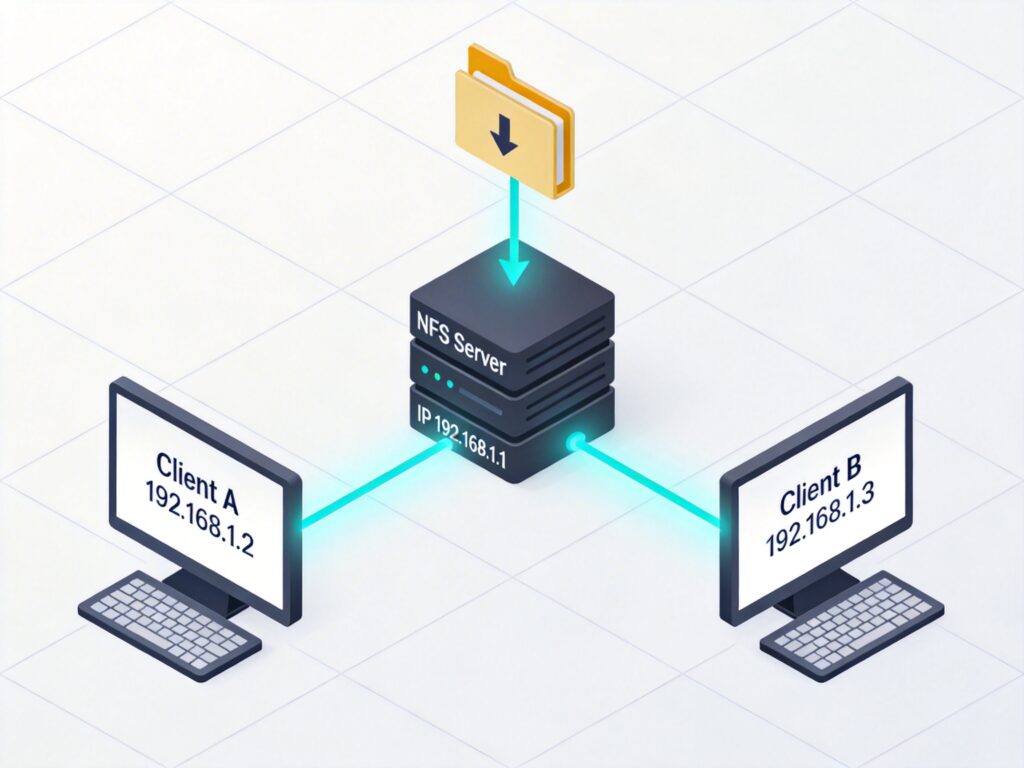
This guide is based on CentOS 6.5 32-bit. Assume the server IP is 192.168.1.1, client A is 192.168.1.2, and client B is 192.168.1.3. The goal is to share a directory from the server to both clients.
1. Install NFS Service
Install the required packages using yum:
yum install nfs-utilsKey files: configuration at /etc/exports, management tool /usr/sbin/exportfs, and status command /usr/sbin/showmount.
2. Create Shared Directory
Create a directory for sharing (for production, use a separate data disk):
mkdir /downloadSet appropriate permissions as needed.
3. Configure Sharing
Edit the NFS configuration file:
vi /etc/exportsAdd the following line to share /download with the two clients:
/download 192.168.1.2(rw,no_root_squash) 192.168.1.3(rw,no_root_squash)Save and exit. Verify the share:
showmount -e localhost4. Reload Configuration
After editing, apply changes with exportfs. Common options:
-a: Mount/unmount all entries in/etc/exports.-r: Remount all and update related files.-u: Unmount a specific share.-v: Verbose output.
Remount all shares:
exportfs -arvUnmount all shares:
exportfs -auv5. Firewall Configuration
If a firewall (e.g., iptables) is active, open NFS ports (e.g., 2049, 111). Adjust rules as needed. For testing, you may temporarily disable the firewall, but this is not recommended for production.
6. NFS Configuration Parameters Reference
- rw/ro: Read-write or read-only. Final permissions also depend on filesystem permissions.
- sync/async: sync writes data to memory and disk simultaneously; async writes to memory first, then disk asynchronously (faster but riskier).
- no_root_squash/root_squash: root_squash (default) maps root access to an anonymous user (nfsnobody) for security; no_root_squash retains root privileges (use with caution).
- all_squash: Map all users to anonymous.
- anonuid/anongid: Specify UID/GID for anonymous user mapping.
NFS Client Installation and Mounting
Using client A (IP: 192.168.1.2) as an example; client B is similar.
1. Install Client Software
Install required packages on the client:
yum install nfs-utils portmapNote: On newer systems, portmap may be replaced by rpcbind.
2. Start Required Services
Start the RPC binding service:
/etc/init.d/rpcbind startIf NFS locking is used on the server, start the lock service:
/etc/init.d/nfslock start3. Mount the NFS Share
Create a local mount point and mount the server's share:
mkdir /download
mount -t nfs 192.168.1.1:/download /download
Verify with df -h.
4. Unmount the Share
To unmount:
umount /download5. Recommended Mount Options
For safer file storage, use restrictive options:
mount -t nfs -o nosuid,noexec,nodev,rw 192.168.1.1:/download /downloadnosuid: Ignore SUID permissions.noexec: Prevent execution of binaries.nodev: Do not interpret device files.
6. Auto-Mount at Boot
Edit /etc/rc.d/rc.local and add the mount command:
vi /etc/rc.d/rc.localAdd at the end:
mount -t nfs 192.168.1.1:/download /downloadNote: If clients have NFS mounted, the server may not shut down properly; unmount shares first.
7. Service Management and Firewall
After server reboot, start NFS service:
service nfs startEnable auto-start:
chkconfig --level 345 nfs onIf firewall blocks NFS, disable temporarily for troubleshooting (not recommended permanently):
chkconfig iptables offUse chkconfig to check service status.