Configuring the Filter Table Firewall
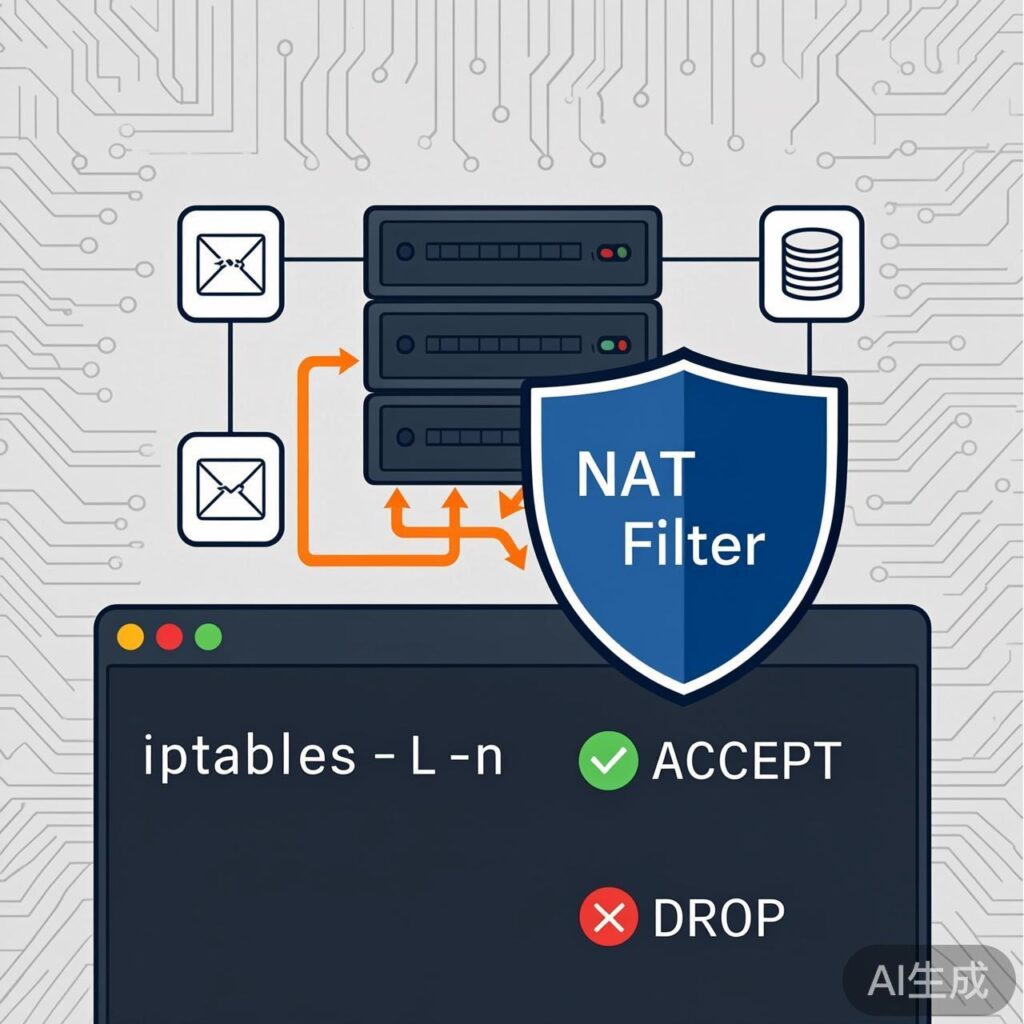
1. View Current iptables Rules
Use the following command to view the rules in the filter table:
iptables -L -nIf a firewall is enabled, the output will show defined chains and rules. If not, only the default policy chains (INPUT, FORWARD, OUTPUT) with ACCEPT policies and no specific rules will be displayed.
2. Clear Existing Rules
Before custom configuration, clear all existing rules in the filter table:
iptables -F
iptables -X
iptables -Z
These commands provide a temporary configuration. To save permanently on CentOS/RHEL systems:
service iptables save
service iptables restart
The configuration file is typically located at /etc/sysconfig/iptables.
3. Set Default Policies
Set default policies for the INPUT, FORWARD, and OUTPUT chains. A common strict policy is:
iptables -P INPUT DROP
iptables -P FORWARD DROP
iptables -P OUTPUT ACCEPT
This means all inbound and forwarded traffic not explicitly allowed is dropped, while outbound traffic is allowed by default. Warning: Setting INPUT to DROP without first allowing SSH (port 22) will break remote connections.
4. Add Rules
Add ACCEPT rules for required services based on the default policy.
Allow SSH (Port 22)
iptables -A INPUT -p tcp --dport 22 -j ACCEPT
iptables -A OUTPUT -p tcp --sport 22 -j ACCEPT
Allow Web Services (Ports 80 & 443)
iptables -A INPUT -p tcp --dport 80 -j ACCEPT
iptables -A INPUT -p tcp --dport 443 -j ACCEPT
Allow ICMP (ping)
iptables -A INPUT -p icmp -j ACCEPT
iptables -A OUTPUT -p icmp -j ACCEPT
Allow Loopback Interface
iptables -A INPUT -i lo -j ACCEPT
iptables -A OUTPUT -o lo -j ACCEPT
Allow Established and Related Connections
This crucial rule ensures replies to server requests are not blocked:
iptables -A INPUT -m state --state ESTABLISHED,RELATED -j ACCEPT
iptables -A OUTPUT -m state --state ESTABLISHED,RELATED -j ACCEPT
Restrict by IP or Subnet
Example: Allow SSH only from the 192.168.0.0/24 subnet:
iptables -A INPUT -s 192.168.0.0/24 -p tcp --dport 22 -j ACCEPTFORWARD Chain Example
If the server acts as a gateway, configure FORWARD rules. Example:
iptables -A FORWARD -m state --state ESTABLISHED,RELATED -j ACCEPT
iptables -A FORWARD -p icmp -m limit --limit 1/s --limit-burst 10 -j ACCEPT
iptables -A FORWARD -f -m limit --limit 100/s --limit-burst 100 -j ACCEPT
Configuring the NAT Table Firewall
1. View NAT Table Rules
Use the -t nat parameter to view the NAT table:
iptables -t nat -L -nClear NAT table rules with:
iptables -t nat -F
iptables -t nat -X
iptables -t nat -Z
2. Add NAT and Filtering Rules
Prevent Internal IP Spoofing
Drop packets from the external interface using private IP ranges:
iptables -t nat -A PREROUTING -i eth0 -s 10.0.0.0/8 -j DROP
iptables -t nat -A PREROUTING -i eth0 -s 172.16.0.0/12 -j DROP
iptables -t nat -A PREROUTING -i eth0 -s 192.168.0.0/16 -j DROP
SNAT (Source NAT)
Typical SNAT for sharing an internet connection (masquerading):
iptables -t nat -A POSTROUTING -s 192.168.1.0/24 -o eth0 -j MASQUERADEOr use static SNAT:
iptables -t nat -A POSTROUTING -s 192.168.1.0/24 -j SNAT --to-source PUBLIC_IPDNAT (Destination NAT)
Map a public IP port to an internal server:
iptables -t nat -A PREROUTING -d PUBLIC_IP -p tcp --dport 80 -j DNAT --to-destination INTERNAL_SERVER_IP:803. Final Check and Save
After configuration, verify the rules:
iptables -L -n -v
iptables -t nat -L -n -v
If correct, save and restart the service. For systemd-based systems (e.g., CentOS 7+, Ubuntu 16.04+):
iptables-save > /etc/iptables/rules.v4
systemctl restart iptables  # or netfilter-persistent
Note: These examples are based on older distributions (e.g., CentOS 6). Modern systems may use nftables or firewalld, but iptables remains widely available. Adjust commands and paths for your specific distribution.