Last Updated: August 10, 2018
One of my websites currently handles approximately 32,000 unique IPs, 35,000 unique visitors, and over 150,000 page views per day. It was running on a minimal-configuration Alibaba Cloud server. Despite extensive optimization, the server was struggling under the load. Considering the rising costs of cloud services, I decided to migrate the server and use this opportunity to optimize and upgrade the entire production environment.
This article documents the process of deploying and tuning this production environment. Configuration must be based on actual business needs, avoiding both under-provisioning ("a small horse pulling a big cart") leading to overload, and over-provisioning ("a big horse pulling a small cart") causing resource waste.
My website is built on PHP. The core goals for this redeployment are: handling daily traffic at the lowest cost, maintaining low system load, preventing 502 errors due to php-fpm process crashes, and avoiding MySQL database crashes or high CPU usage. MySQL optimization is the primary focus, followed by php-fpm.
A Bold Storage Strategy
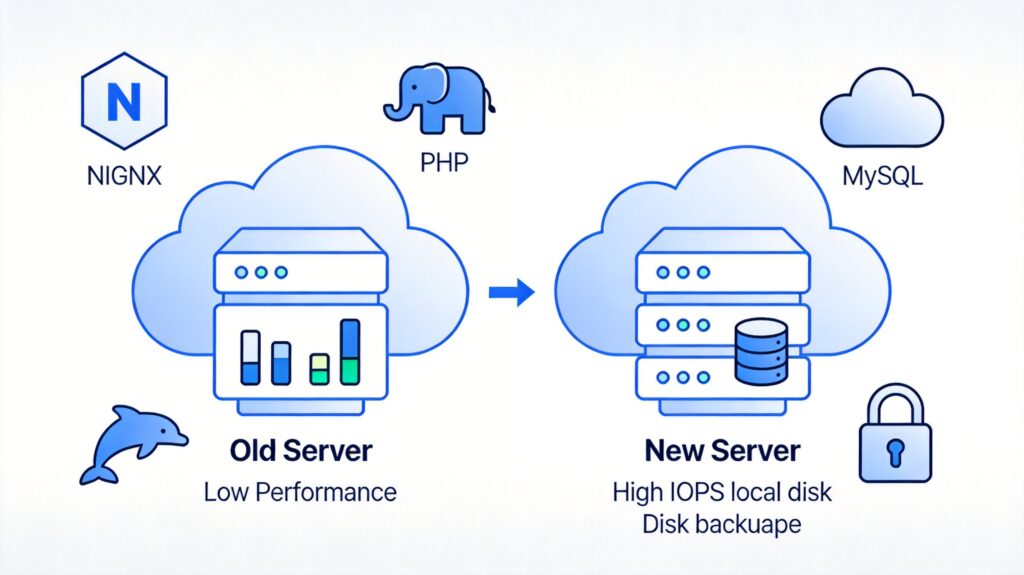
I planned to place cache files, static files, and MySQL database files on high-speed local disks to leverage their high IOPS for performance gains.
To ensure data safety, I would use scripts or the lsyncd tool to perform real-time incremental backups of the data directories to a cloud disk. If the local disk failed, I could immediately modify the configuration to switch to the backup data on the cloud disk.
This approach might seem risky, as local disks are generally considered less secure for critical data, and official documentation often recommends them for non-critical reads/writes. However, the new server's cloud disk had low IO performance, while the local disk offered over 20 times higher IOPS. Placing the database on the local disk was expected to provide significant performance improvements, so I decided to test it during this migration.
1. Basic Server OS Configuration
Operating System: CentOS 6.8 64bit
After SSH login, perform the following:
- Mount the cloud disk.
- Enhance server security: change SSH port, disable root password login, restrict to key-based authentication.
Install essential tools and dependencies:
yum install wget screen -y && screen -S lnmp
sudo yum check-update || sudo yum update -y
yum groupinstall -y 'Development Tools'
yum install -y epel-release
yum install -y perl perl-devel perl-ExtUtils-Embed libxslt libxslt-devel libxml2 libxml2-devel gd gd-devel GeoIP GeoIP-devel
2. Install LNMP Environment
Requirements:
- Use high-IO local disk for database files (security to be enhanced later).
- Install the ngx_cache_purge module for Nginx (not included by default in the LNMP one-click install package).
These requirements necessitate modifying the LNMP package configuration.
First, create a directory for managing installation files:
cd / && mkdir codefiles && cd codefilesDownload and extract the LNMP 1.4 package, but do not run the install script yet to allow manual configuration:
wget -c http://soft.vpser.net/lnmp/lnmp1.4.tar.gz && tar zxf lnmp1.4.tar.gz && cd lnmp1.4Download and extract the ngx_cache_purge module source to the specified directory:
cd src && wget http://labs.frickle.com/files/ngx_cache_purge-2.3.tar.gz && tar zxvf ngx_cache_purge-2.3.tar.gz && rm -rf ngx_cache_purge-2.3.tar.gz && cd ..Edit the lnmp.conf file in the LNMP root directory to add Nginx module parameters and enable the ngx_http_realip_module for future use:
vi lnmp.confModified configuration:
Download_Mirror='https://soft.vpser.net'

Nginx_Modules_Options='--add-module=/codefiles/lnmp1.4/src/ngx_cache_purge-2.3 --with-http_realip_module'
PHP_Modules_Options=''

##MySQL/MariaDB database directory##
MySQL_Data_Dir='/mnt/mysql/var'
MariaDB_Data_Dir='/mnt/mariadb/var'
##Default website home directory##
Default_Website_Dir='/home/wwwroot/default'

Enable_Nginx_Openssl='y'
The database data directory is changed from /usr/local/ to paths under /mnt, where the local disk is mounted.
Tip: Before proceeding, it's advisable to create a snapshot of the system disk via the cloud server console. This allows quick rollback if issues arise later.
Update the system and begin installation:
yum update -y
./install.sh lnmp
Follow prompts to select database type, set root password, and choose PHP version.
After installation, the environment is:
- CentOS 6.8 64bit
- Nginx 1.12.2
- MariaDB 10.1.23
- PHP 5.5.38
3. Install Other Necessary Software
Clean up temporary files:
rm -rf /codefiles/lnmp1.4.tar.gz && rm -rf /codefiles/lnmp1.4/src/ngx_cache_purge-2.3.tar.gzInstall Memcached:
cd /codefiles/lnmp1.4/ && ./addons.shFor WordPress, download a Memcached object cache plugin and place the object-cache.php file in the wp-content directory.
To check Memcached status, download the official probe. Edit memcache.php to set server address and credentials:
define('ADMIN_USERNAME','memcache');
define('ADMIN_PASSWORD','password');
define('DATE_FORMAT','Y/m/d H:i:s');
define('GRAPH_SIZE',200);
define('MAX_ITEM_DUMP',50);
$MEMCACHE_SERVERS[] = '127.0.0.1:11211';
Upload the file to a non-public directory and access it via browser. If no data appears, ensure WordPress connects by adding this to wp-config.php:
global $memcached_servers;
$memcached_servers = array(
    array(
        '127.0.0.1',
         11211
    )
);
Verify Memcached's listening IP/port:
netstat -nutlp | grep memcacheEnable OPcache for PHP optimization (included but disabled by default in LNMP):
./addons.sh install opcacheCopy essential configuration files from the old server: Nginx main config, virtual host config, my.cnf, php.ini, php-fpm.conf, and snmpd.conf.
Migrate Crontab tasks, e.g.:
*/5 * * * * /bin/bash /codefiles/lnmp1.4/tools/checkmysql.sh
*/5 * * * * /bin/bash /codefiles/lnmp1.4/tools/check502.sh
00 03 * * * /bin/bash /codefiles/lnmp1.4/tools/cut_nginx_logs.sh
00 23 * * 3 /bin/bash /codefiles/lnmp1.4/tools/backup.sh
4. Website Configuration
- Create virtual host, bind domain, enable SSL, and copy/optimize PHP and Nginx configs from the old server.
- Configure proper iptables firewall rules.
5. LNMP Log Management
- Use scripts with Crontab to rotate logs daily and auto-delete after 30 days.
- Disable unnecessary MySQL logging (e.g., binary logs) to prevent disk space issues.
6. Firewall Rules
Ensure iptables rules align with the cloud host's security group policies.
If the server needs to send emails (e.g., monitoring alerts), open relevant ports (25 or 465). For third-party SMTP, configure /etc/mail.rc:
set [email protected]
set smtp=smtp.126.com
set smtp-auth-user=username
set smtp-auth-password=password
set smtp-auth=login
Note: smtp-auth-password is usually the SMTP authorization code, not the login password.
7. Enable SNMP Monitoring
Install SNMP service:
yum install net-snmp net-snmp-devel -ySNMP has v2c and v3 versions with different authentication.
V2c Configuration
Clear default config and edit /etc/snmp/snmpd.conf:
rocommunity public 127.0.0.1
rocommunity public 192.168.1.1
rocommunity public 60.195.252.107
rocommunity public 60.195.252.110
V3 Configuration
Stop service and create user:
service snmpd stop
net-snmp-config --create-snmpv3-user -ro -A snmp@jiankongbao -a MD5 jiankongbao
Start service and enable auto-start:
service snmpd start
chkconfig snmpd on
Service Verification
V2c check:
netstat –antupl
snmpwalk -v2c –c commity target_ip
V3 check:
snmpwalk -v 3 -u jiankongbao -a MD5 -A "snmp@jiankongbao" -l authNoPriv 127.0.0.1 sysDescrIf commands fail, install net-snmp-utils:
yum install net-snmp-utils -yFirewall Settings
For V2c, allow UDP port 161:
iptables -I INPUT -p udp --dport 161 -j ACCEPTFor stricter rules, limit to specific monitoring server IPs.
8. Refine Server Backup Strategy
- Use Crontab to run a script daily, incrementally backing up database data from
/mntto the cloud disk (excluding cache). - Leverage cloud disk auto-snapshot feature for system and data disks daily. Ensure backup script runs before snapshots.
- Use a script to monthly package database and website files (excluding cache) to remote FTP/object storage, cleaning backups older than 30 days.
9. Website Optimization
- Implement separation of static and dynamic content.
- Deploy site-wide HTTPS.
Extension: Why Nginx + PHP-FPM?
Compared to Apache + MOD_PHP, Nginx + PHP-FPM offers:
- Easier static/dynamic separation.
- Support for PHP-FPM clusters via upstream for load balancing and failover.
- Flexible PHP-FPM configuration with multiple process pools (listening on different ports) for resource isolation.
- Ability to run multiple PHP-FPM versions on one server for horizontal scaling.
Nginx 502 errors often stem from backend PHP-FPM crashes. Configure fastcgi_next_upstream to forward requests to other upstream servers:
fastcgi_next_upstream error timeout invalid_header http_500 http_502 http_504;PHP-FPM with Nginx can isolate I/O-intensive operations (downloads, cURL requests) into a separate pool to avoid blocking the main app. Example: create an io pool on port 9001, while the main www pool uses port 9000.
Nginx config snippet:
location = /io.php {
    include fastcgi_params;
    fastcgi_pass 127.0.0.1:9001;
    fastcgi_param SCRIPT_FILENAME $document_root$fastcgi_script_name;
}
PHP-FPM config snippet (php-fpm.conf):
[www]
listen = 127.0.0.1:9000
pm = static
pm.max_children = 4

[io]
listen = 127.0.0.1:9001
pm = dynamic
pm.max_children = 8
pm.start_servers = 4
pm.min_spare_servers = 4
pm.max_spare_servers = 4
This pool isolation effectively reduces the impact of I/O blocking on the PHP application.