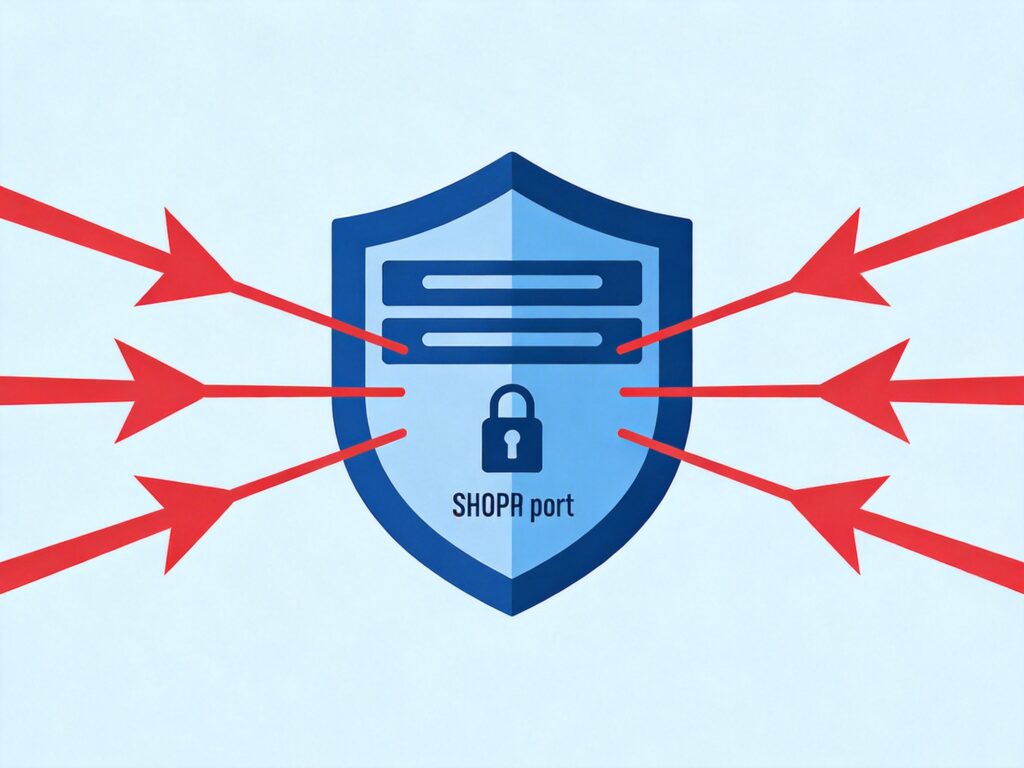
Preventing SSH Brute-Force Attacks on Cloud Servers
Automated SSH port scanning and brute-force attacks are widespread on the internet. Attackers scan for hosts with open SSH ports and attempt to crack login credentials using dictionaries or exhaustive methods. Securing SSH access on your cloud server or VPS is therefore critical.
Basic Security Recommendations
- Use Strong Passwords or Keys: Set a complex, high-strength password for SSH accounts. Better yet, use SSH key pairs for passwordless login and disable password authentication entirely.
- Change the Default Port: Modify the SSH port from the default 22 to a non-standard port to reduce exposure to automated scans.
- Enable a Firewall: Use your cloud platform's firewall or the system firewall (e.g., iptables, firewalld) to restrict SSH access to specific source IPs.
- Disable Root Login: In the SSH configuration file (
/etc/ssh/sshd_config), setPermitRootLogin noto prevent direct root login.
While major cloud providers offer basic security groups/firewalls, users must still harden their systems.
Using DenyHosts to Automatically Block Attack IPs
DenyHosts is a Python security tool that monitors system authentication logs (e.g., /var/log/secure) and automatically adds IPs with multiple failed SSH login attempts to the /etc/hosts.deny file, effectively blocking them.
Installation Methods
Method 1: Via LNMP One-Click Installer (if installed)
The LNMP installer's tools directory includes a convenient script:
cd /root/lnmp1.x/tools  # Replace x with your version
./denyhosts.sh
This script handles installation and configuration automatically. The same directory contains ./fail2ban.sh for installing Fail2ban.
Method 2: Manual Installation
1. Download the source code (the project has moved; get it from a trusted source like GitHub):
wget https://github.com/denyhosts/denyhosts/archive/refs/tags/v3.1.tar.gz
tar -zxvf v3.1.tar.gz
cd denyhosts-3.1
2. Optionally, clear old logs and restart the logging service:
echo "" > /var/log/secure && systemctl restart rsyslog3. Run the installation (ensure Python is installed):
python setup.py installThe default installation directory is /usr/share/denyhosts/.
Configuration and Startup
1. Navigate to the install directory and copy configuration files:
cd /usr/share/denyhosts/
cp denyhosts.cfg-dist denyhosts.cfg
cp daemon-control-dist daemon-control
2. Start DenyHosts:
chown root daemon-control
chmod 700 daemon-control
./daemon-control start
3. Enable auto-start on boot (recommended for Systemd systems):
# Create a systemd service file (e.g., CentOS 7+/Ubuntu 16.04+)
echo -e '[Unit]nDescription=DenyHosts SSH Security MonitornAfter=network.targetnn[Service]nType=forkingnExecStart=/usr/share/denyhosts/daemon-control startnExecStop=/usr/share/denyhosts/daemon-control stopnRestart=on-failurenn[Install]nWantedBy=multi-user.target' > /etc/systemd/system/denyhosts.service
systemctl daemon-reload
systemctl enable denyhosts
systemctl start denyhosts
For older SysVinit systems, add the startup command to /etc/rc.local:
echo "/usr/share/denyhosts/daemon-control start" >> /etc/rc.local
chmod +x /etc/rc.local
Key Configuration Parameters
Important settings in /usr/share/denyhosts/denyhosts.cfg:
SECURE_LOG = /var/log/secure          # SSH auth log path (varies by OS)
HOSTS_DENY = /etc/hosts.deny          # File where blocked IPs are written
PURGE_DENY = 5m                       # Retention time for blocked IPs (e.g., 5m, 5h, 5d)
BLOCK_SERVICE = sshd                  # Service to block (can be ALL)
DENY_THRESHOLD_INVALID = 5            # Failed attempts for invalid users
DENY_THRESHOLD_VALID = 10             # Failed attempts for valid (non-root) users
DENY_THRESHOLD_ROOT = 5               # Failed attempts for root user
HOSTNAME_LOOKUP = NO                  # Reverse DNS lookup; set to NO to reduce delay
DAEMON_LOG = /var/log/denyhosts       # DenyHosts own log path
Managing Whitelists and Unblocking IPs
- Add to Whitelist: Add trusted IPs to prevent false blocks.
echo "your_trusted_ip" >> /usr/share/denyhosts/allowed-hosts systemctl restart denyhosts # or /etc/init.d/denyhosts restart - Unblock an IP: If an IP is blocked, manually remove its entries from
/etc/hosts.denyand DenyHosts' working directory, or use a community-provided unblock script (ensure source is safe).
Alternative: Fail2ban
Fail2ban is a more powerful intrusion prevention framework. It supports not only SSH but also HTTP, FTP, and other services. It works similarly by monitoring logs for failure patterns and using firewall rules (e.g., iptables) to block offenders. Its configuration is more flexible, making it the currently recommended mainstream tool.
Conclusion
Security is an ongoing process. Beyond deploying DenyHosts or Fail2ban, ensure you:
- Use strong passwords or SSH keys.
- Regularly update the system and software packages.
- Restrict SSH access sources via a firewall.
- Periodically review logs (
/var/log/secure,/var/log/denyhosts) and block lists. - Establish a regular data backup routine.
No single measure guarantees absolute security. A multi-layered defense strategy is essential for effectively securing your cloud server.