Problem Background
Server configuration:
/dev/vda1: System disk./dev/vdb1: A separate cloud disk mounted at/home/wwwrootfor website data.
Originally, website data was stored in /home/wwwroot on the system disk. After purchasing a new cloud disk, the original directory was renamed to /home/wwwrootB, a new /home/wwwroot directory was created, and the newly formatted disk was mounted there.
The system ran normally until one day, a DedeCMS-based website backend could not create new sections. Checking via SSH showed directory permissions were correct. A WordPress site on the same disk, however, functioned normally, allowing image uploads and article publishing.
Troubleshooting Process
1. Initial Suspicions of Permission Issues
Initially suspected cross-site protection mechanisms in the LNMP environment (like the immutable attribute of .user.ini). Attempted to remove it with:
chattr -i ./.user.iniThe system returned an error:
Read-only file system while setting flags on ./.user.iniThis indicated the filesystem itself might be read-only.
2. Check Filesystem Mount Status
Used the following command to view detailed mount information:
cat /proc/mountsKey output:
/dev/vdb1 /home/wwwroot ext4 ro,relatime,barrier=1,data=ordered 0 0The disk /dev/vdb1 mounted at /home/wwwroot had the ro (read-only) attribute.
3. Attempt to Remount as Read-Write
Tried to remount it as read-write (rw):
mount -o remount,rw /home/wwwrootThe operation failed with the message:
cannot remount block device /dev/vdb1 read-write, is write-protected4. Check System Logs
Used dmesg to view kernel logs, revealing numerous filesystem errors:
EXT4-fs error (device vdb1): ext4_journal_start_sb: Detected aborted journal
EXT4-fs (vdb1): Remounting filesystem read-only
JBD: Spotted dirty metadata buffer (dev = vdb1, blocknr = 0). There's a risk of filesystem corruption in case of system crash.
EXT4-fs error (device vdb1) in ext4_orphan_add: Journal has aborted
...(similar errors follow)
The logs clearly indicated the filesystem journal (/dev/vdb1) had aborted abnormally. The kernel automatically remounted it as read-only to prevent data corruption, a classic sign of filesystem error.
5. Attempt Filesystem Repair
First, stop all related services (like LNMP) to avoid write operations during repair.
lnmp stopThen, attempted to use the filesystem check and repair tool:
fsck -y /dev/vdb1The command may fail, indicating the device is mounted:
fsck from util-linux-ng 2.17.2
e2fsck 1.41.12 (17-May-2010)
/dev/vdb1 is mounted.
e2fsck: Cannot continue, aborting.
This shows the filesystem must be unmounted for repair. Unmounting is usually allowed even in read-only state.
Root Cause and Final Solution
The root cause is a severe error in the Ext4 filesystem journal, triggering the kernel's protection mechanism to force a read-only state.
Standard Resolution Steps:
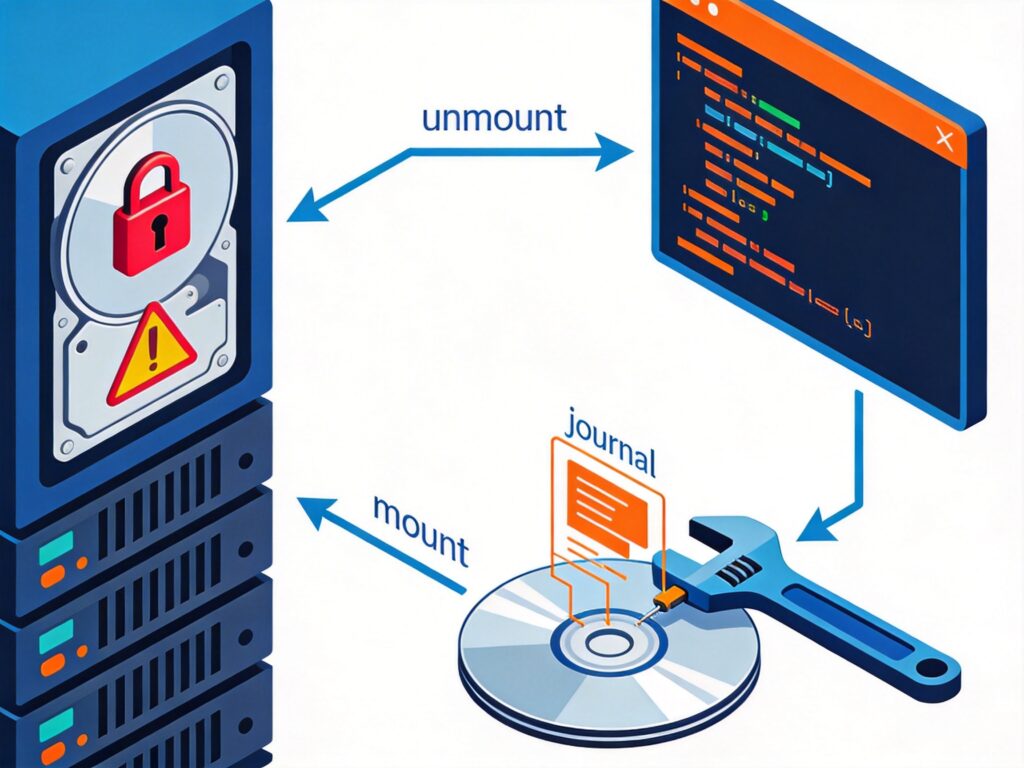
- Unmount the filesystem:
umount /dev/vdb1If "device is busy", use
lsoforfuserto identify and terminate processes using it. - Force check and repair the filesystem:
fsck -yf /dev/vdb1The
-yflag answers "yes" automatically,-fforces a check even if the filesystem appears clean. This process repairs the damaged journal and metadata. - Remount: After repair, remount the filesystem.
mount /dev/vdb1 /home/wwwrootIt should now mount as read-write (rw). Confirm with
mount | grep vdb1orcat /proc/mounts. - Restart services: Once confirmed, restart the stopped services.
lnmp start
Extreme Case Handling: If fsck fails or the problem persists, the filesystem may be severely corrupted. The last resort is:
- Backup data (restore from other backups if possible).
- Reformat the disk:
mkfs.ext4 /dev/vdb1Warning: This erases all data on the disk.
- Remount and restore data.
Always try fsck repair first and ensure regular backups are in place.