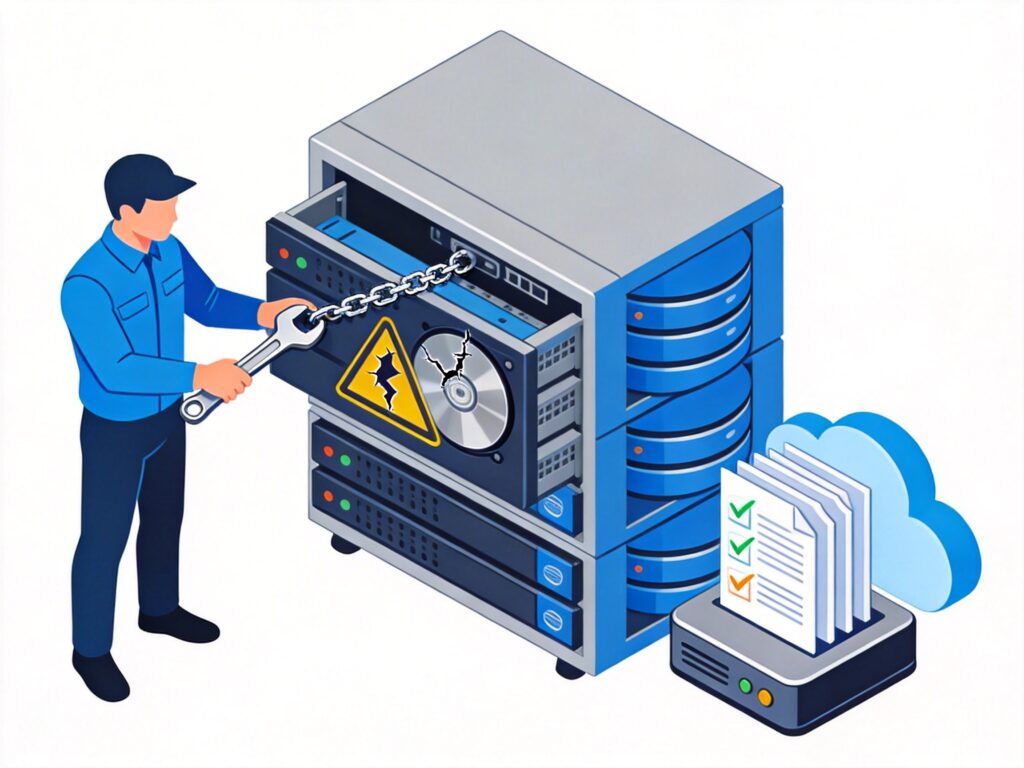
Problem Description
When accessing your WordPress admin dashboard or performing certain database operations (like cleanup), you might encounter the following error:
Table 'xxx' is marked as crashed and last (automatic) repair failed
Here, xxx is the specific database table name. This error indicates that the index file (.MYI) for this MyISAM engine table is corrupted, and MySQL's automatic repair attempt has failed.
Causes
Table corruption is usually caused by:
- Unexpected server power loss or restart.
- MySQL service terminating abnormally during a write operation.
- Insufficient disk space or disk errors.
- Inherent stability issues with the MyISAM storage engine (consider using InnoDB for important tables).
After corruption, the table's index information is lost or scrambled, preventing normal read/write operations.
Preparation Before Repair (Important)
Before performing any repair, always back up your data to prevent permanent data loss.
1. Back Up Database Files
Connect to your server via SSH and navigate to the MySQL data directory (common paths include /var/lib/mysql/, /usr/local/mysql/data/, or /usr/local/mysql/var/).
# Go to data directory
cd /var/lib/mysql/
# Recursively back up the entire database folder (replace your_database_name)
cp -r your_database_name your_database_name_backup
2. Stop MySQL Service
# For Systemd systems (e.g., CentOS 7+, Ubuntu 16.04+)
systemctl stop mysqld
# or
systemctl stop mysql

# For SysVinit systems
service mysql stop
# or
/etc/init.d/mysqld stop
Manual Repair Steps
The following steps assume you have backed up data and stopped the MySQL service.
Step 1: Navigate to the Corrupted Table's Directory
cd /var/lib/mysql/your_database_nameStep 2: Use the myisamchk Tool
myisamchk is MySQL's built-in maintenance tool for MyISAM tables.
- Standard Repair: Attempts to recover table structure and data.
myisamchk -r table_name.MYI- Batch Repair: Repairs all MyISAM tables in the directory.
myisamchk -r *.MYI- Force Repair: Use if standard repair fails. More aggressive but may cause data loss.
myisamchk -r -f *.MYIParameter Explanation:
-r: Recovery mode. Tries to repair data rows and index.-f: Force mode. Executes even if temporary (.TMD) files exist.*.MYI: Wildcard matching all MyISAM index files.
Step 3: Restart MySQL and Verify
# Start service
systemctl start mysqld
# or service mysql start

# Log into MySQL and check table status
mysql -u root -p
USE your_database_name;
CHECK TABLE table_name;
REPAIR TABLE table_name; # If needed after myisamchk
Post-Repair Recommendations & Prevention
1. Convert Storage Engine to InnoDB
MyISAM tables are prone to corruption and lack transaction support. For core tables (e.g., WordPress wp_posts, wp_postmeta), convert to the more stable InnoDB engine.
ALTER TABLE table_name ENGINE=InnoDB;2. Regularly Optimize and Check Tables
# Optimize table (reclaims space, defragments)
OPTIMIZE TABLE table_name;
# Check table status
CHECK TABLE table_name;
3. Ensure Server Stability
- Use a UPS (Uninterruptible Power Supply) to prevent power outages.
- Monitor disk health and free space.
- Avoid forcing a server restart while MySQL is running.
If Manual Repair Fails
If the steps above don't work, try:
- Restore the table from a recent full backup.
- Use
myisamchk --safe-recoverfor a safer (slower) recovery. - If the table structure is known but data can be discarded, try
REPAIR TABLE ... USE_FRMto rebuild from the .frm file. - As a last resort, extract data from a backup SQL file or other copy.
Following these steps should resolve most 'crashed' errors caused by MyISAM table corruption. Regular backups and migrating to InnoDB are the best practices to avoid such issues.